
PRODUCT SUPPORT
Installation & Maintenance
Practical guidance for handling, installing and maintaining air filters. Always follow the instructions supplied with your specific filter and equipment.
On This Page
Before Installation
Confirm the filter model, dimensions and required specification before installation. Inspect the frame, media and gasket for damage. Keep the filter in its protective packaging until it is ready to be installed.
- Check that the filter matches the equipment and order specification.
- Inspect for damaged media, distorted frames or damaged seals.
- Keep the installation area clean and protect the replacement filter.
Prepare the Equipment Safely
Before opening or servicing the equipment, shut it down and isolate energy sources according to the equipment and site procedures. Use protective equipment appropriate to the contaminants and follow the site requirements for filter change-out.
Installation Checklist
1. Handle by the Frame
Support the filter by its frame. Do not lift, press or pull on the filter media.
2. Check Orientation
Follow the airflow marking and the installation orientation specified for the filter and housing.
3. Check Fit & Sealing
Seat the filter correctly and secure it using the specified holding arrangement. Check that the gasket is intact and that no visible gaps remain.
4. Record the Installation
After the system is safely returned to service, record the installation date and initial pressure drop at the operating airflow, where measurement is available.
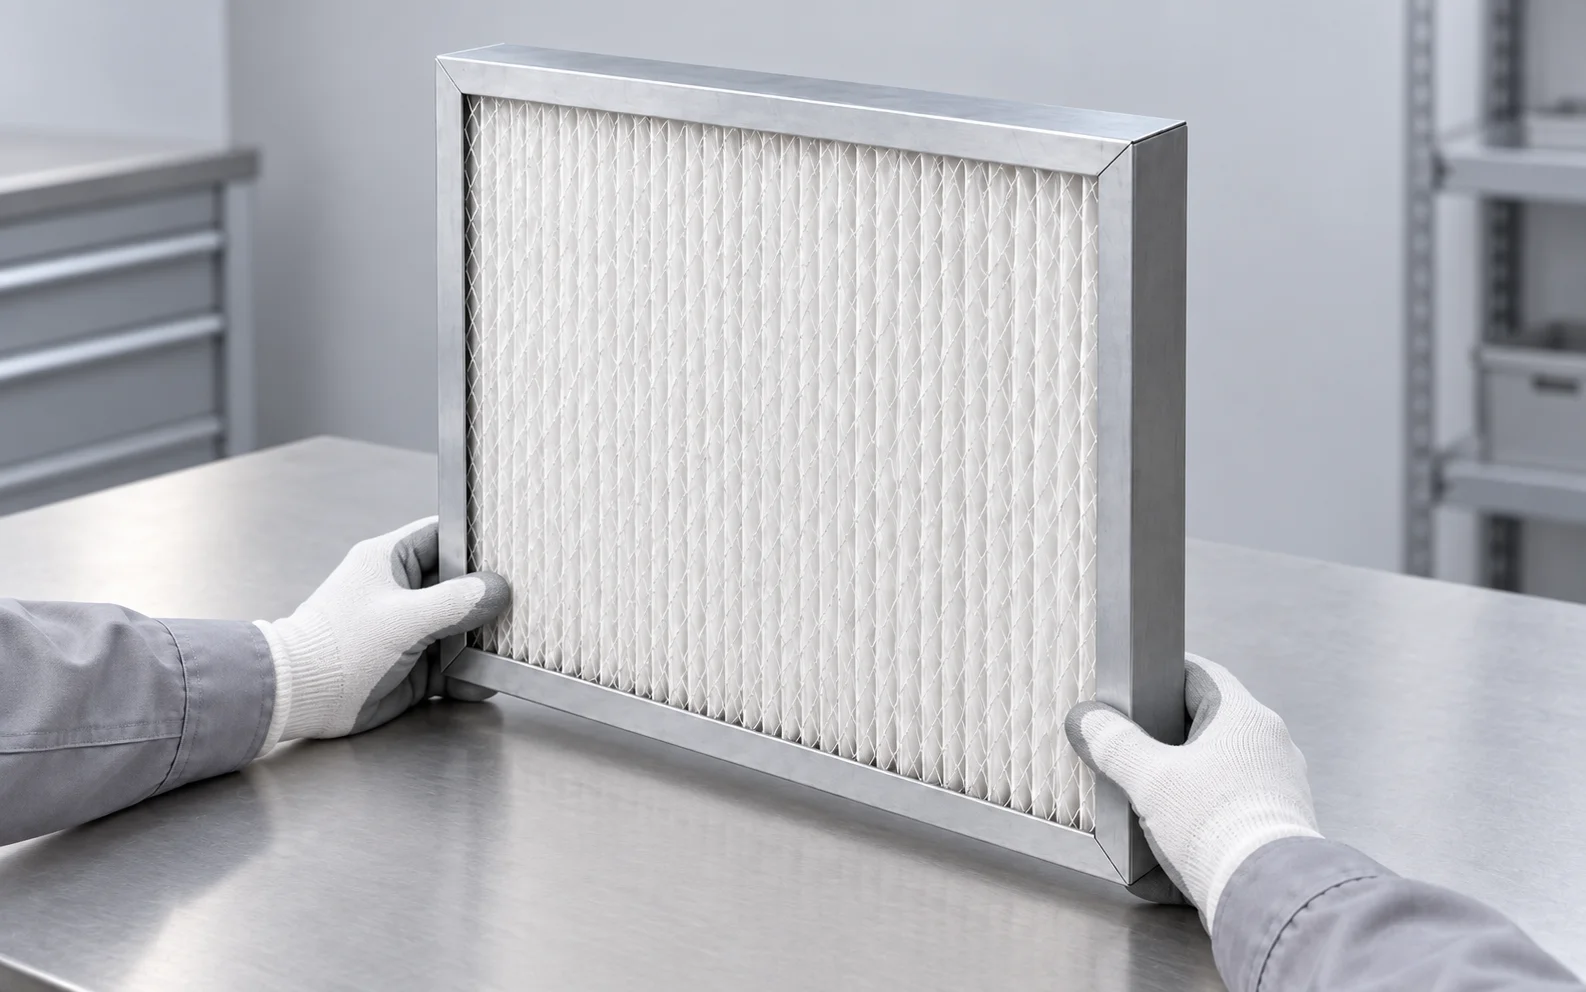
Protect the filter media and gasket throughout handling and installation.
Notes by Filter Type
Panel Filters
Support the frame when handling the filter. Follow the specified airflow and installation orientation, and check the sealing arrangement. Do not force, bend or compress a filter to fit the installation slot.
Bag Filters
Follow the specified pocket orientation for your filter. Leave enough room for the pockets to extend, and make sure they are not pinched or in contact with sharp components.
HEPA Filters
Avoid touching the media, pressing on protective grids or damaging the gasket. Where the application requires installed integrity or leakage testing, arrange for qualified personnel to complete the required tests. Visual inspection alone does not establish installation integrity.
Inspection & Replacement
Check filters as part of the equipment maintenance programme. Review changes under comparable operating conditions.
| Check | What to Review |
|---|---|
| Pressure Drop | Record the trend at comparable airflow and use the replacement limits specified for the filter and system. |
| Media Condition | Look for tears, deformation, abnormal moisture or contamination. Assess defects promptly and replace as required. |
| Frame & Seals | Inspect for loose fittings, corrosion, damaged seals or evidence of air bypass. |
| Service Records | Record installation and replacement dates, pressure readings and relevant operating conditions. |
There is no single replacement interval for every filter. Replacement timing depends on the product, operating conditions and system requirements. Do not rely on appearance or a fixed calendar interval alone.
Cleaning, Storage & Disposal
Can the filter be washed?
Only clean filters that are specifically identified as washable, using the approved method. Do not wash or reuse disposable filters.
How should spare filters be stored?
Keep spare filters in their protective packaging in a clean, dry location. Follow the product-specific storage conditions and avoid crushing or damaging the packaging.
How should used filters be disposed of?
Handle used filters according to the contaminants they have collected and the applicable site and local disposal requirements.
Need Product-Specific Guidance?
Send your filter model or label, photographs and equipment details. Describe the installation or maintenance question so our team can review the information with you.